The First Type is Rivet Crimping: Precision and Consistency for Critical Applications
Rivet crimping, often considered the gold standard for professional applications, utilizes a dedicated crimping tool with a precisely machined die set. The die is shaped to compress the terminal barrel uniformly around the wire strands, creating a dense, gas-tight, and mechanically robust connection that resembles a rivet.
Core Principle:
This method relies on a tool that applies immense, calibrated pressure. The terminal barrel is placed into a die cavity matched to its exact size. As the tool’s handles are compressed, the die folds and compresses the barrel in a controlled pattern around the conductor, creating a permanent deformation that cold-welds the strands together and to the barrel wall.
Step-by-Step Guide to Rivet Crimping:
-
Select the Correct Components:
-
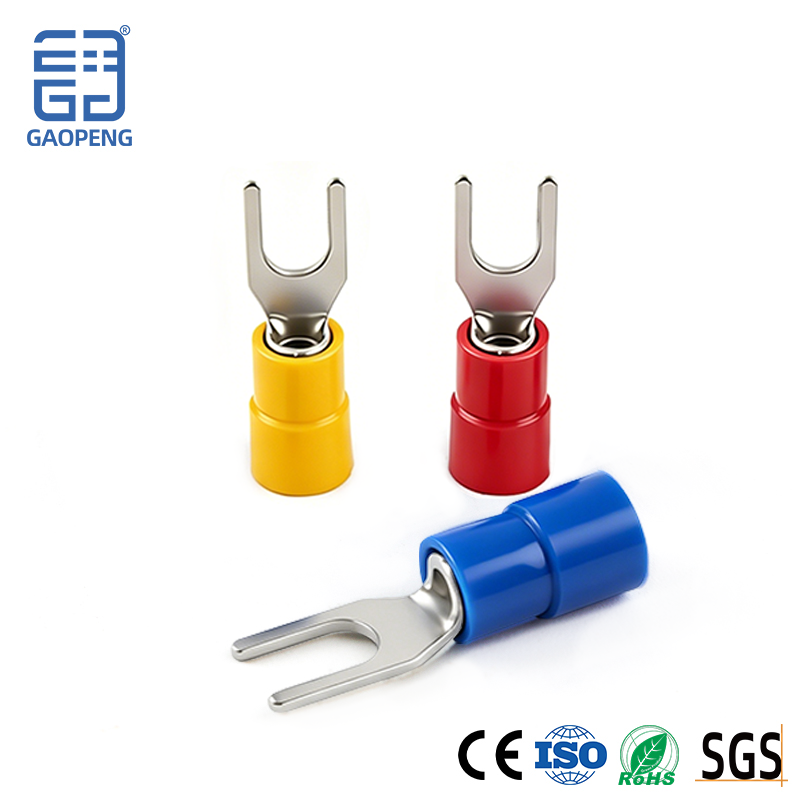
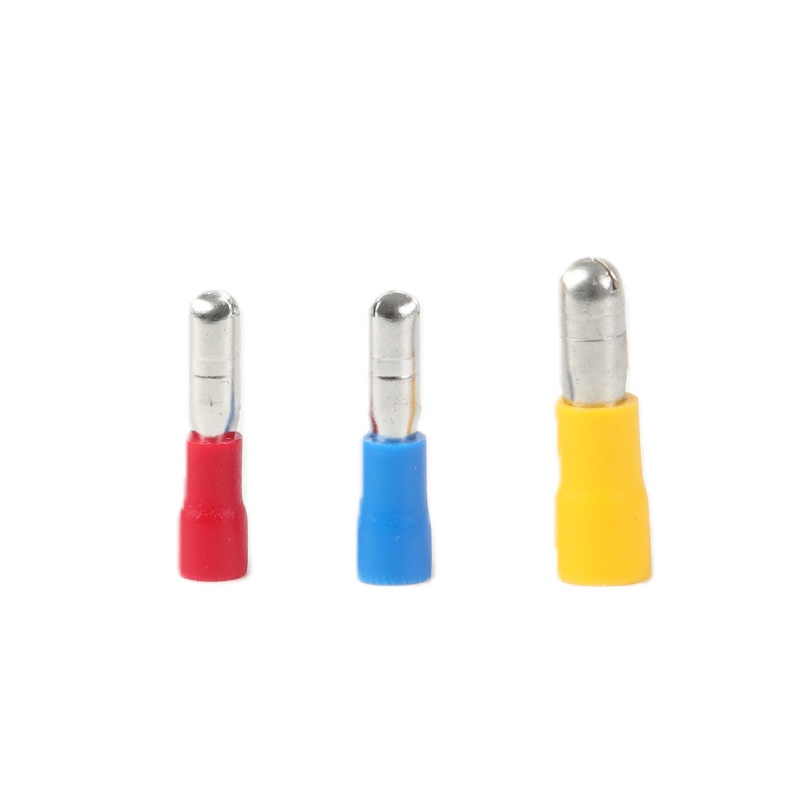
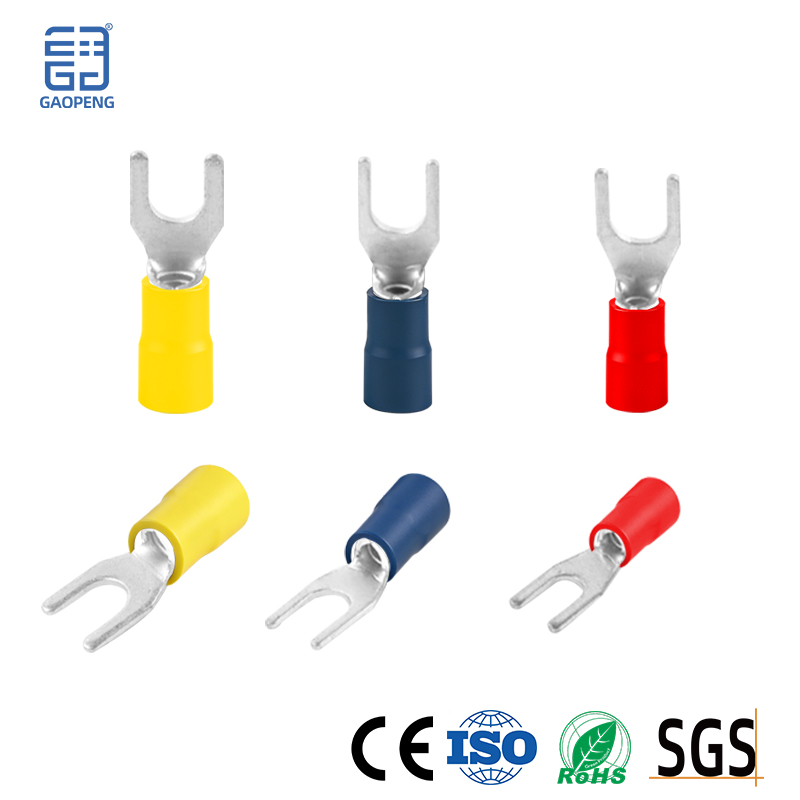
Terminal: Choose a terminal (e.g., ring, spade, pin) with a barrel size that matches the wire's cross-sectional area (AWG/mm²). Using a terminal that is too large or too small will result in a weak connection.
-
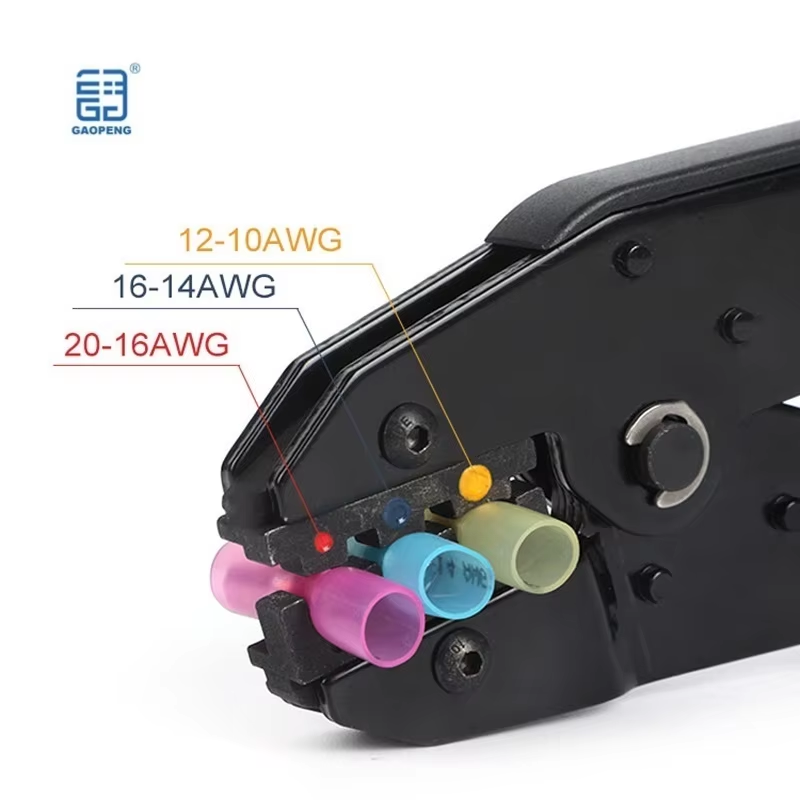
Tool: Select a ratchet crimping tool with the correct die specification for your terminal. Dies are often color-coded or marked for specific wire gauges. The ratchet mechanism is crucial—it will not release until a full, complete crimp cycle is achieved, preventing under-crimping.
-
Prepare the Wire:
-
Insert and Position:
-
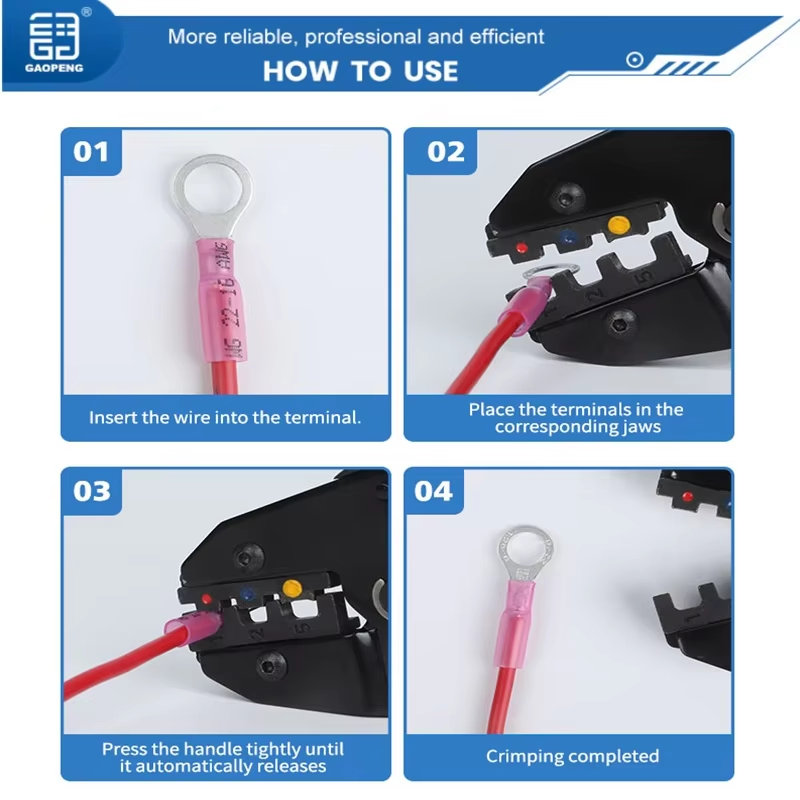
Insert the prepared wire end fully into the terminal barrel until the insulation touches the barrel's stop. For Insulated Terminals, ensure the insulation sleeve is also correctly seated.
-
Place the terminal into the appropriately sized die nest on the crimping tool. Ensure the terminal is oriented correctly (e.g., the seam of the barrel should align with the tool's visual indicator if present).
-
Execute the Crimp:
-
Inspection:
-
A proper rivet crimp should be symmetrical, with the wire firmly anchored. Perform a gentle pull test to ensure mechanical strength. The crimp should be visually neat, with the wire insulation meeting—but not under—the crimped barrel.
Why Choose Rivet Crimping?
-
Unmatched Reliability: Creates a uniform, high-pressure connection with excellent electrical conductivity and mechanical strength.
-
Consistency: The ratchet mechanism ensures every crimp meets the same minimum standard, eliminating human error in applied pressure.
-
Ideal for: Industrial control panels, automotive wiring, aerospace applications, power distribution, and any situation where vibration resistance and long-term reliability are critical.
The Second Type of Straight-In Crimp: Efficiency and Versatility for Standardized Wiring
The straight-in crimp, commonly associated with Insulated Ferrules and some insulated spade/Ring Terminals, employs a simpler tool profile. The crimp is made by inserting the terminal into a single, funnel-shaped jaw that compresses the barrel from two opposite sides, creating a secure but distinct crimp profile.
Core Principle:
This method uses a tool with jaws that close in a straight line, pinching the terminal barrel. The focus is on creating sufficient deformation to secure the wire while often simultaneously crimping a separate insulation sleeve for strain relief. It is the standard method for preparing stranded wires for insertion into screw-clamp terminal blocks.
Step-by-Step Guide to Straight-In Crimping (for Ferrules):
-
Select the Correct Components:
-
Ferrule: Choose an insulated ferrule where the color of the plastic sleeve matches your wire gauge (e.g., red for 0.5-1.0 mm², blue for 1.5-2.5 mm²). The ferrule's metal barrel must be the correct size for the stranded wire.
-
Tool: Use a dedicated ferrule crimping tool. These tools have two distinct crimping zones marked on the jaws: one for the conductor crimp (closer to the tip) and one for the insulation crimp (further back).
-
Prepare the Wire:
-
Insert the Ferrule:
-
Execute the Dual Crimp:
-
Place the ferrule into the tool's jaws. The bare metal barrel should be positioned in the conductor crimp zone, and the front part of the plastic sleeve should be in the insulation crimp zone.
-
Squeeze the tool handles completely. In one action, the tool will crimp the metal barrel onto the conductors for electrical contact and the jaws will compress the plastic sleeve onto the wire insulation for mechanical strain relief.
-
Inspection:
Why Choose Straight-In Crimping?
-
Optimized for Terminal Blocks: It creates a perfect, solid pin from stranded wire, preventing strand splay and ensuring maximum contact area in screw-clamp, spring-cage, or PCB terminals.
-
Speed and Simplicity: The process is fast and highly effective for panel building and general wiring tasks.
-
Essential for: Preparing control wiring for DIN-rail terminal blocks, PLC systems, consumer appliance wiring, and any application using stranded wire in screw-type connections to enhance safety and reliability.
Universal Best Practices (Applicable to Both Methods):
-
Never Use Pliers: Adjustable pliers or uncalibrated tools cannot provide the consistent, high pressure required and will damage the terminal, leading to a high-resistance, unreliable connection.
-
Match Tool to Terminal: Always use the tool recommended for the specific terminal type and size. Cross-compatibility is not guaranteed.
-
Quality of Components: Start with high-quality terminals, like those from Gaopeng, made from proper copper alloys with adequate plating. The best technique cannot compensate for substandard materials.
-
Training and Practice: Proper crimping is a skill. Train personnel and have them practice on scrap materials before working on live projects.
Conclusion: The Foundation of Electrical Reliability
Mastering the correct crimping technique—whether the robust Rivet Crimp for heavy-duty power connections or the precise Straight-In Crimp for control wiring with ferrules—is not a minor detail; it is the foundational act of building a reliable electrical system. A proper crimp ensures low electrical resistance, superior mechanical strength, and resilience against vibration and corrosion.
At Yueqing Gaopeng Electric Co., Ltd., we provide more than just premium terminals. We advocate for the expertise that turns our components into guarantees of performance and safety. By following these professional guidelines, engineers, technicians, and electricians can ensure that every connection in their system contributes to its overall integrity, efficiency, and longevity.
Build with Precision. Connect with Confidence. Trust Gaopeng.