



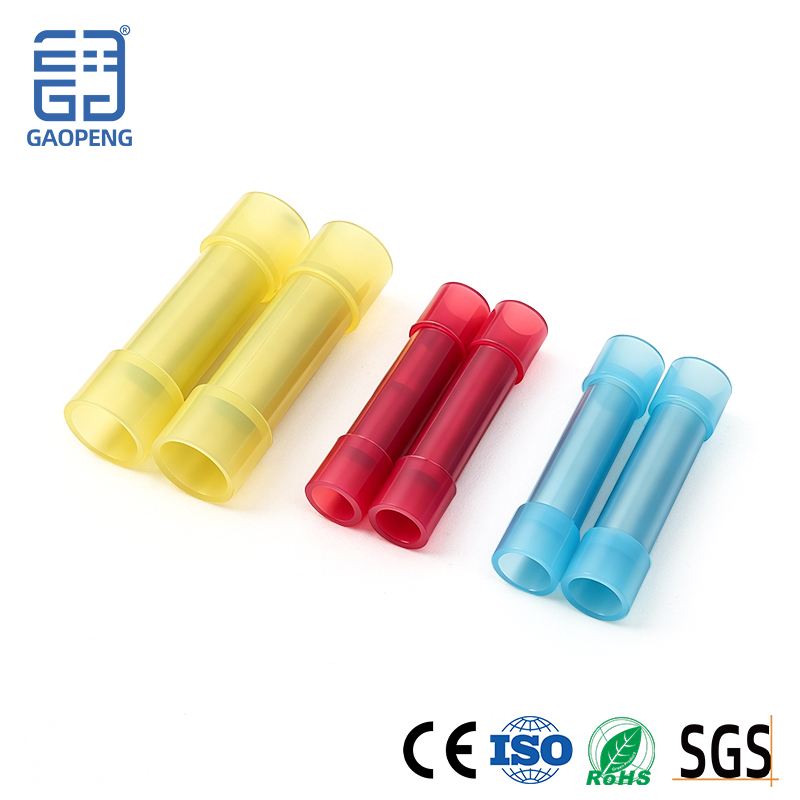
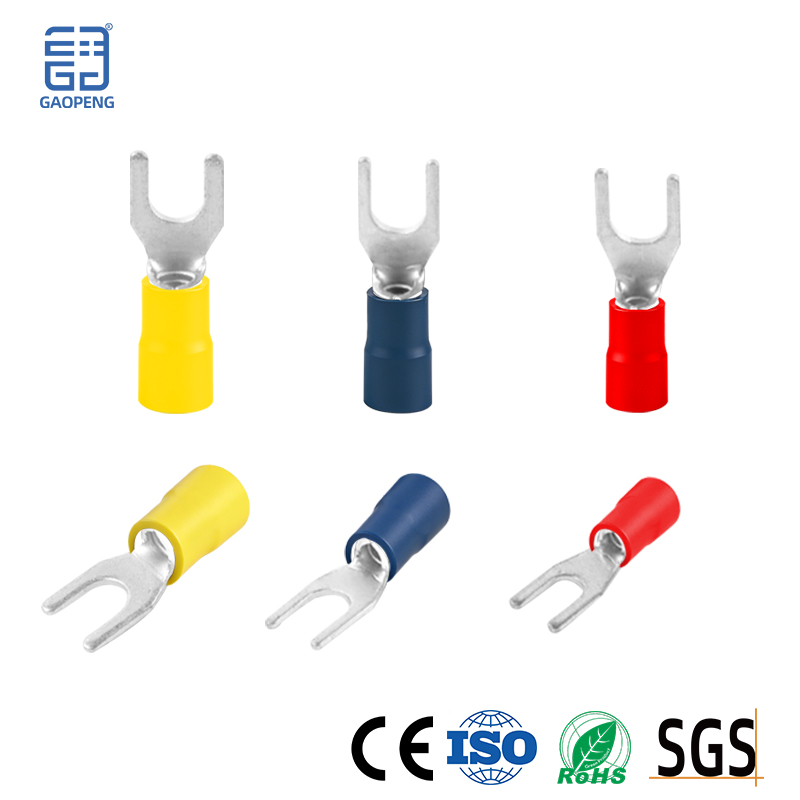
How to use an insulated crimping tool for connectors
Step 1: Preparation
Power off: Before operating, make sure the circuit is powered off to ensure safety.
Choose the right tools:
Avoid using ordinary pliers, as they cannot provide even and sufficient pressure, which can lead to poor connections or fire hazards.
Always use a dedicated crimping tool. A crimping tool with a ratchet mechanism ensures consistent pressure with each crimp, guaranteeing high-quality connections.
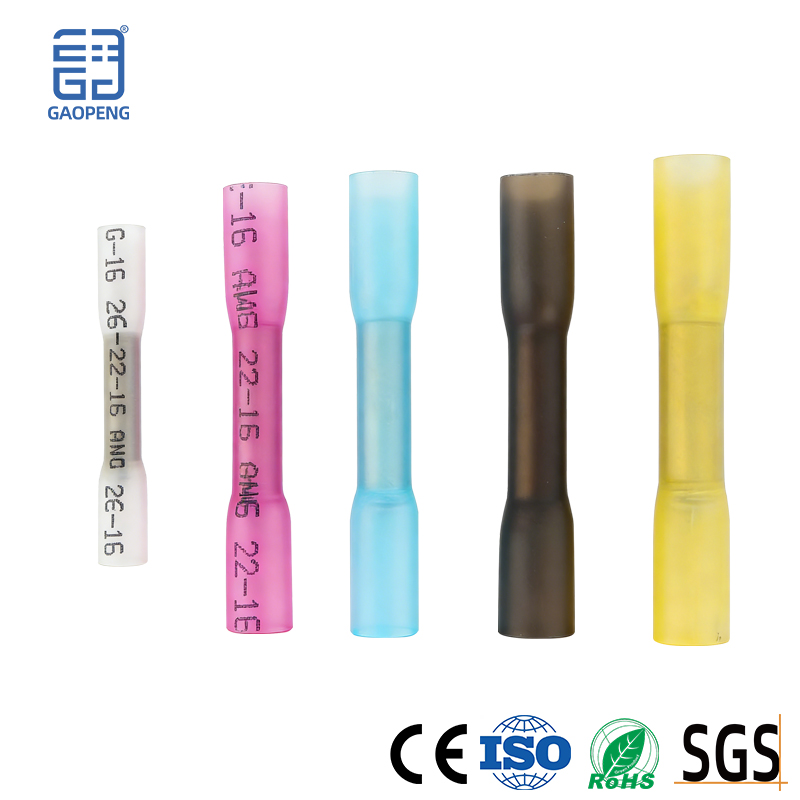
Match wire gauge with terminals: Ensure the specifications of the connector and wire (e.g., AWG22-16, about 0.5-1.5mm²) match each other. Do not use "small feet with big shoes."
Step 2: Handle the wires
Strip the wire: Use a Wire Stripper to remove the insulation from the end of the wire. Strip the wire to the precise length, generally 1.9–2.5mm or as indicated on the terminal packaging.
Avoid damage: When stripping the wire, be careful not to scratch or cut the internal metal core. If the core wire is loose, you can gently twist it tighter.
Step 3: Crimping Operation
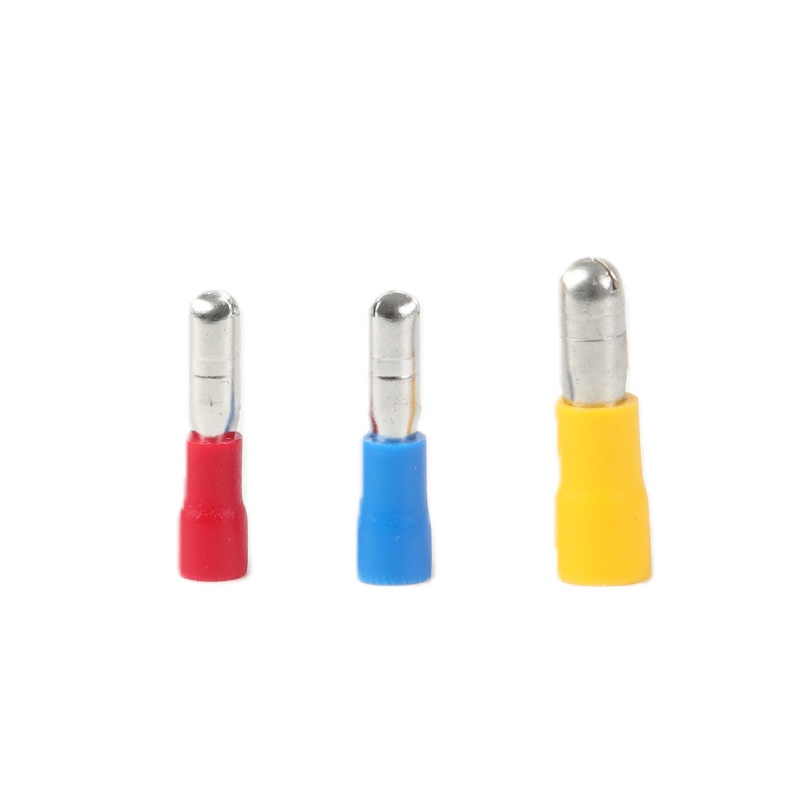
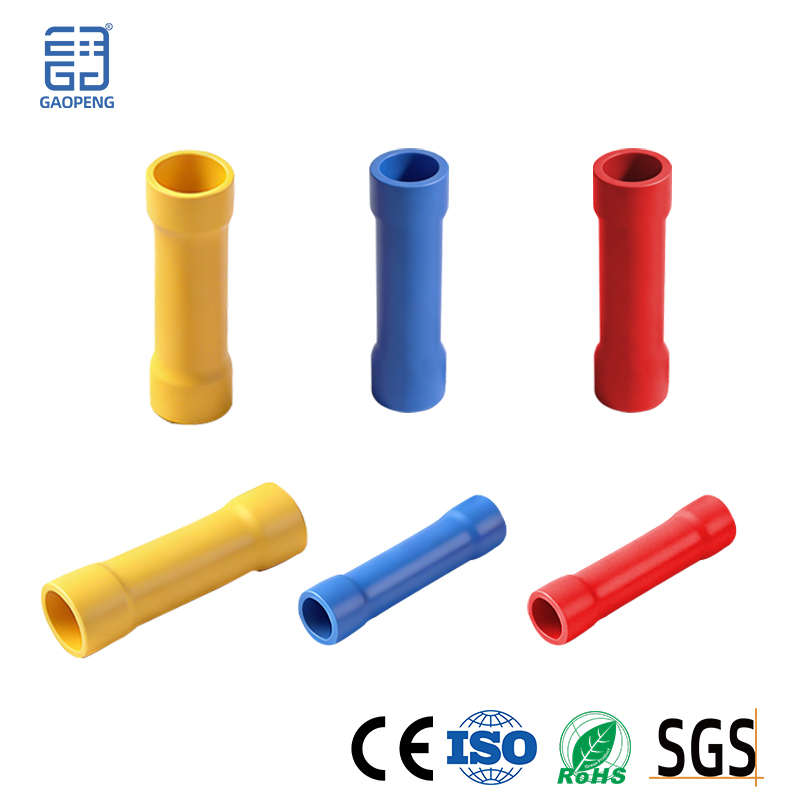
Insert the Terminal: Place the insulated terminal into the appropriate jaw of the crimping pliers (color coding can help you quickly match the wire gauge), align the metal crimping area of the terminal with the jaw, and gently squeeze the handle to hold it in place.
Insert the Wire: Insert the prepared wire into the terminal, ensuring that the copper core fully enters the metal barrel, while the insulation enters the rear insulation crimp area. You can gently push it to the deepest point until you feel a stop.
Complete the Crimp: Fully squeeze the handle of the crimping pliers until the ratchet mechanism automatically releases and the jaws open. Do not release midway, as this can result in an incomplete crimp.
Step 4: Inspection and Testing
A high-quality crimp is key to ensuring electrical safety. After crimping, be sure to carry out the following checks:
Visual Inspection: The crimped area should have a neat shape, with no cracks or sharp burrs. You should be able to see the core wire through the inspection hole without any exposed copper strands.
Pull Test: Gently pull on the wire; the terminal and wire should be firmly connected and must not come loose. This is the most direct method of verification.
To help you more intuitively avoid the 'pitfalls,' here are some typical crimping mistakes:
Stripping length too long or too short: Too long will expose the copper core (prone to short circuits), too short and the terminal may only clamp the insulation.
Incorrect crimping position: The crimping pliers press on the insulation part of the terminal instead of the critical metal sleeve.
Wire gauge mismatch: Using thick wire with a small terminal, or thin wire with a large terminal, can lead to a loose crimp or inability to insert.