A welding machine puts a different demand on a connection than most equipment does. The power lead carries a current that rises with every arc and falls between them, and the joint at the end of that lead heats up and cools down with the machine. A terminal that is fine in a control cabinet can walk itself loose in a welder over a season of duty cycles, because the metal is expanding and contracting and the torque is drifting with it. This article is where the terminals sit in a welding machine, what each position asks of the part, and how to specify them so the joint outlasts the arc. We build non-insulated and Insulated Terminals in Yueqing, and the welding-equipment parts sit on the heavier end of the non-insulated line.
What the welding current does to a joint
The current is pulsed. It is high during the arc and low or zero between strikes, so the contact spot heats with every strike and cools with every pause. The thermal cycling moves the metal, the vibration from the machine and from the operator handling the torch moves it again, and the combination is what walks a screw joint loose over time. As the joint moves the contact resistance grows, the resistance grows the heat, and the heat grows the movement, which is the loop that finishes by burning the contact. The answer is not a terminal that is simply stronger. It is the right barrel for the cable, the right torque value written into the spec, and a joint style that does not put a moving load on one small screw face.
Why the big Fork terminal carries the power
On the main power circuit, the output stud, the transformer secondary, and the input disconnect, the job is cross-section and contact surface. A large tinned copper fork terminal takes the full wire into the barrel, the tinned surface keeps the contact stable under the heat, and the flat under the screw spreads the torque over a face instead of a point. The barrel depth has to swallow the full stranding of the cable, because a loose strand in the barrel takes the current the flat should and dies there, and that is the failure we see come back as a discolored stud. We match the fork to the cable size the machine is rated for, not to the smallest terminal that physically fits the hole, because the hole will take many sizes and the current will not.
The control side of the machine
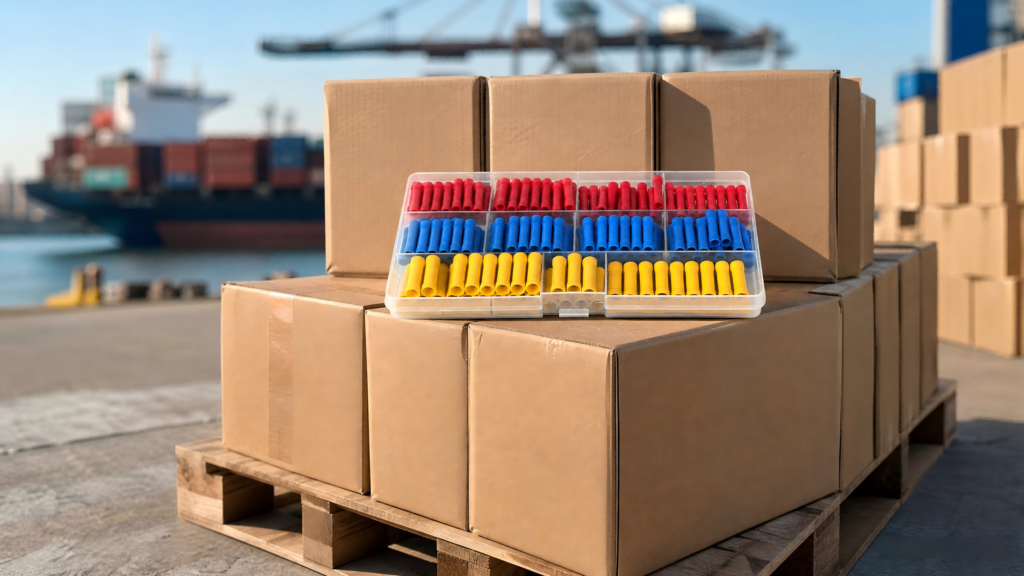
The rest of the machine is a normal wiring job. The trigger circuit, the cooling fan, the torch trolley, and the indicator lamps run on the insulated terminal line, in the small barrels, in the colors that tell the repair technician which wire is which when the cover is open. The control side is where a mixed box of red, blue, and yellow insulated terminals saves assembly time, and where a wrong-size barrel on a small wire is the mistake that comes back as a cracked jacket or a cold joint. The two sides of the machine want different parts, and a specification that mixes them in one list is a specification that will mix them in the carton, so we quote and pack them separately.
How to specify it
For the power side we need the cable size in mm² or AWG, the stud or hole the terminal lands on, the current at full duty, and the plating, with tinned as the default for the heat. For the control side we need the wire gauges, the insulation colors, and the style, insulated barrel or quick splice for the inline points. If you have the machine rating sheet, send it as it is, because the duty cycle on the sheet tells us more than the nameplate amperage. We come back with the fork sizes for the power side and the insulated list for the control side, each with its own part number and its own bag, so the two sides never get mixed on the assembly bench.
|
Position in the machine |
What it carries |
Part answer |
|
Main power stud |
Full welding current |
Large tinned fork, barrel full for the cable |
|
Input disconnect |
Rated input current |
Tinned fork matched to the cable size |
|
Control circuits |
Low current and signals |
Insulated barrel terminals, color coded |
|
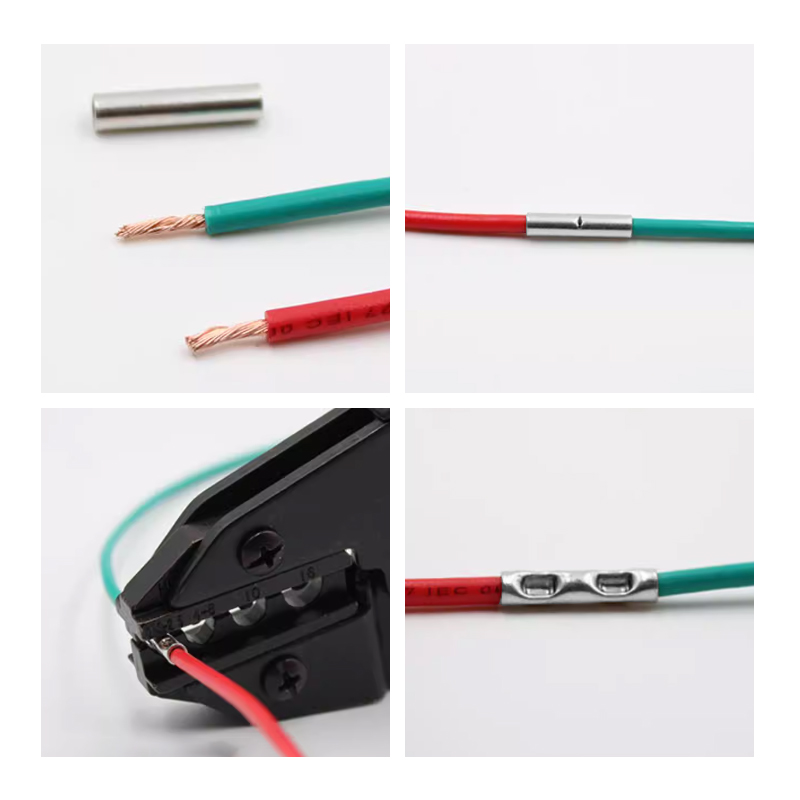
Inline repair on a lead |
The lead current at that point |
Quick splice or insulated barrel, sized to the wire |
- Send the machine rating, the output amperage and the duty cycle.
- Send the cable sizes for the power leads, mm² or AWG.
- Tell us the termination, the stud size and the screw style.
- List the control-side wire gauges and the colors you use.
- We propose the fork sizes for the power side and the insulated list for the control side.
- We pack the power parts and the control parts separately with part marks on the bags.
We are Yueqing Gaopeng Electric, a terminal manufacturer in Yueqing since 2016, and the tinned copper forks we build go to welding-equipment makers who run them through full duty cycles. Send us the amperage, the cable size, and the stud, and we will come back with a terminal that keeps its torque when the arc does not. The joint that survives the season is the one that was sized for the current from the start.