



The Art of the Perfect Crimp: A (Mostly) Pain-Free Guide to Insulated Crimp Connectors
What are Insulated Crimp Connectors?
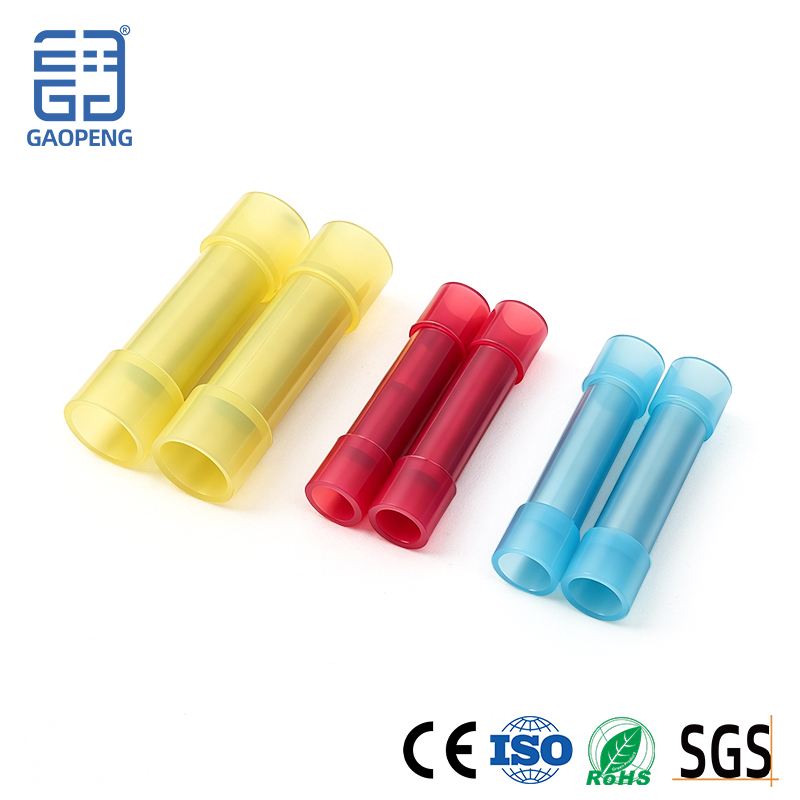
Let’s start with the basics, sans the jargon-induced coma. Imagine you’re introducing two wires that desperately need to form a lasting, conductive relationship. You wouldn’t just twist them together and hope for the best (a.k.a., the “fire hazard special”). Enter the Insulated Crimp Connector – the trustworthy chaperone of the electrical world.
At its core, it’s a two-part marvel:
-
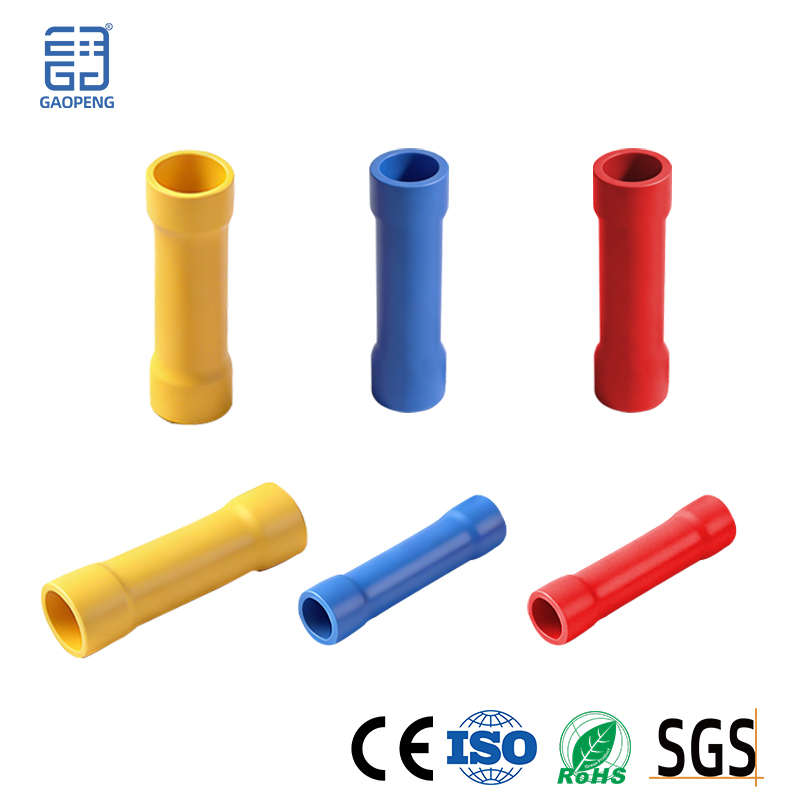
The Metal Barrel: Usually made of copper or tin-plated copper for stellar conductivity, this is the inner sleeve that physically grips the wire strands. This is where the magic connection happens.
-
The Insulated Sleeve: The colorful (often nylon or vinyl) plastic jacket. Its jobs are crucial: to provide electrical insulation (preventing shocking introductions to other components or you) and to add strain relief, protecting that delicate metal union from the twists and tugs of real life.
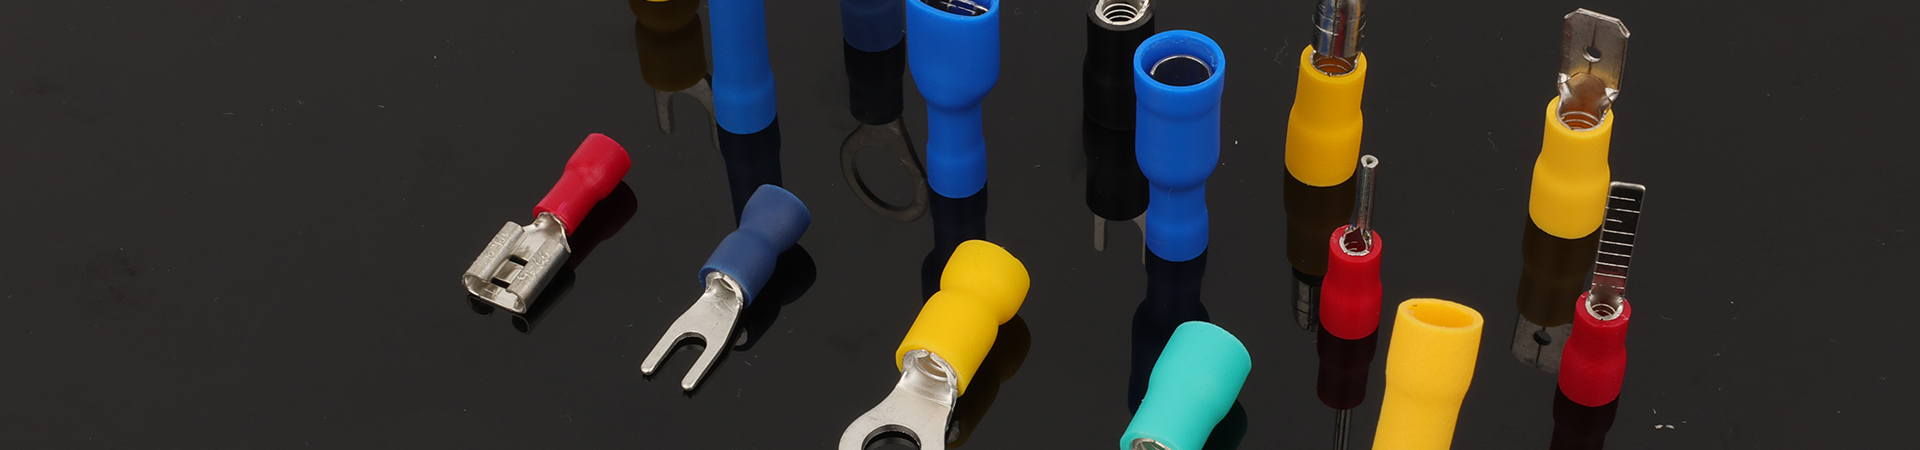
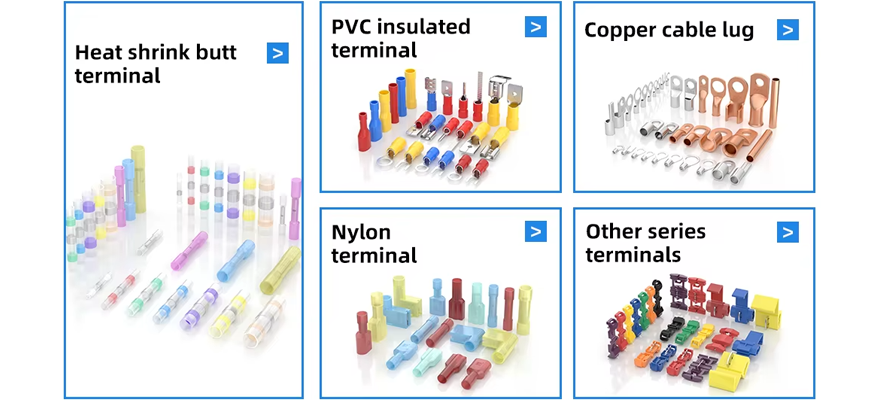
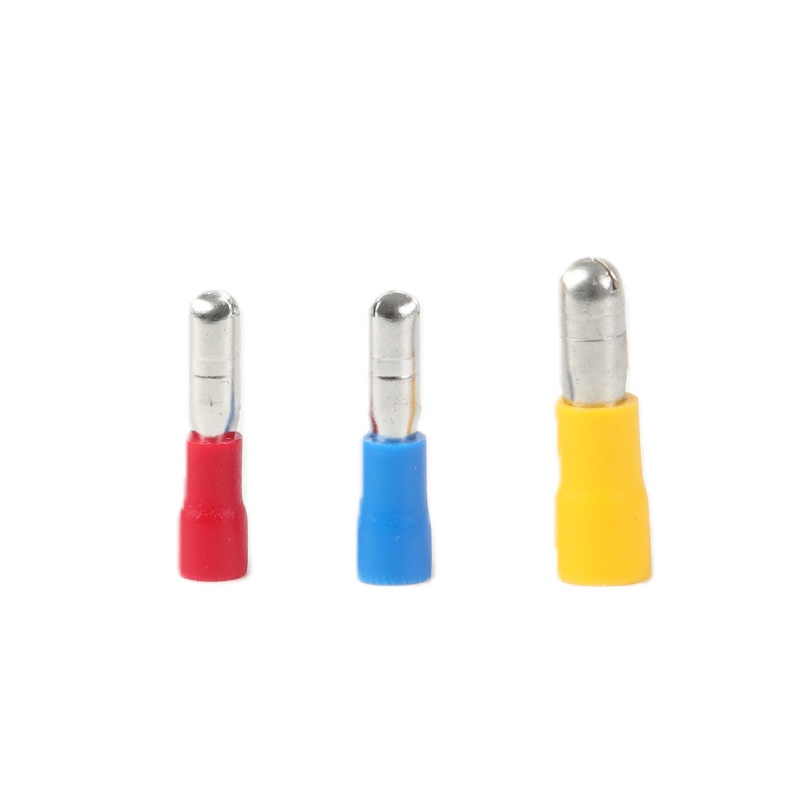
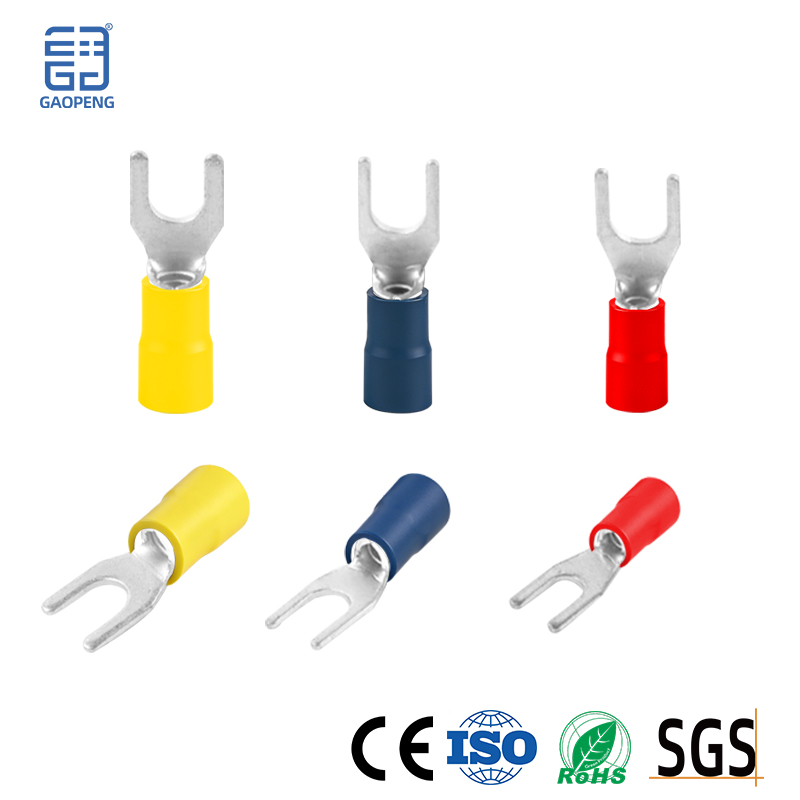
They come in all flavors: butt connectors (for extending wires), Ring Terminals (for secure screw-down posts), spade connectors (for slide-on convenience), and more. In short, they are the unsung heroes ensuring your connections are safe, secure, and semi-permanent. They’re like tiny, sophisticated wedding rings for your wires.
How to Use Insulated Crimp Connectors: A Step-by-Step Sonata
Using these connectors isn’t rocket science, but doing it right is a symphony of simple steps. Grab your tools—a wire stripper, a proper ratcheting crimping tool (please, abandon the pliers for this!), and your chosen connector.
Step 1: The Perfect Strip
Measure twice, strip once. Strip just enough insulation from the wire to allow the bare end to sit fully inside the metal barrel, with the insulation ending just under the plastic collar. Too much bare wire is an exposed risk; too little, and you won’t get a proper crimp. Aim for Goldilocks-level perfection.
Step 2: The Pre-Crimp Check
Slide the stripped wire into the connector until you feel it hit the stop. Give it a gentle tug to ensure it’s seated. This is no time for guesswork.
Step 3: The Moment of Truth – The Crimp
Place the connector’s metal barrel (not the plastic!) into the appropriately sized jaw of your crimping tool. The tool should have dies marked for insulated vs. non-insulated connectors. Use the right one. Now, apply firm, steady pressure. A quality ratcheting tool will hold until a complete crimp cycle is achieved, resulting in a satisfying, irrevocable click.
Pro-Tip from Gaopeng: That click is the sound of victory. It means the tool has applied the correct, consistent pressure to cold-weld the wire and barrel into one solid mass of conductive joy.
Step 4: The Tug Test
A good crimp is a strong crimp. After crimping, give the wire a firm pull. It should not come out or wiggle freely. If it does, snip it off and start again. A weak crimp now is a failure waiting to happen later.
Step 5: Optional Heat-Shrink (For Extra Fancy Jobs)
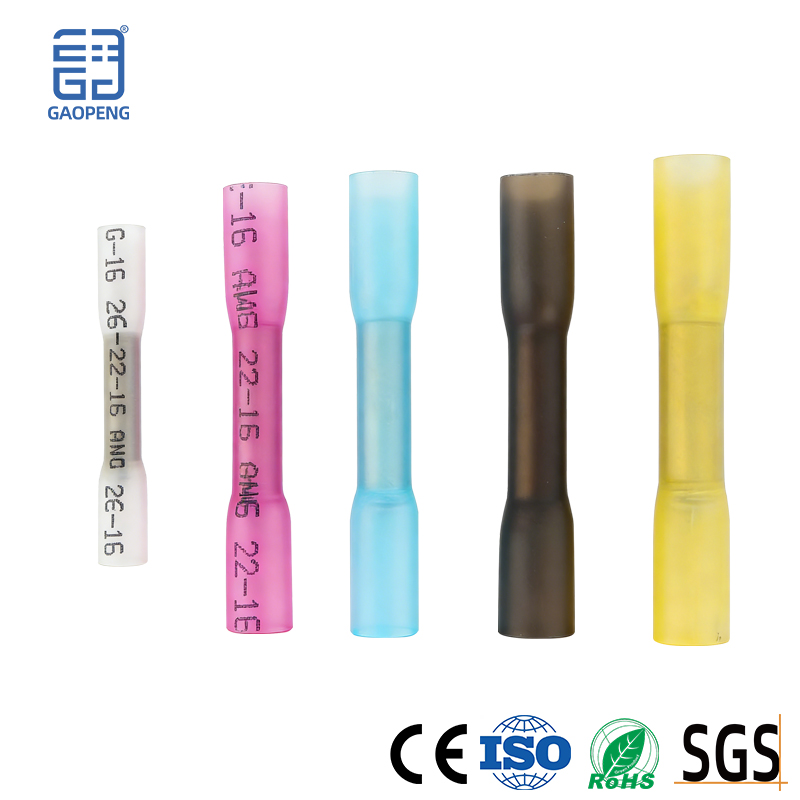
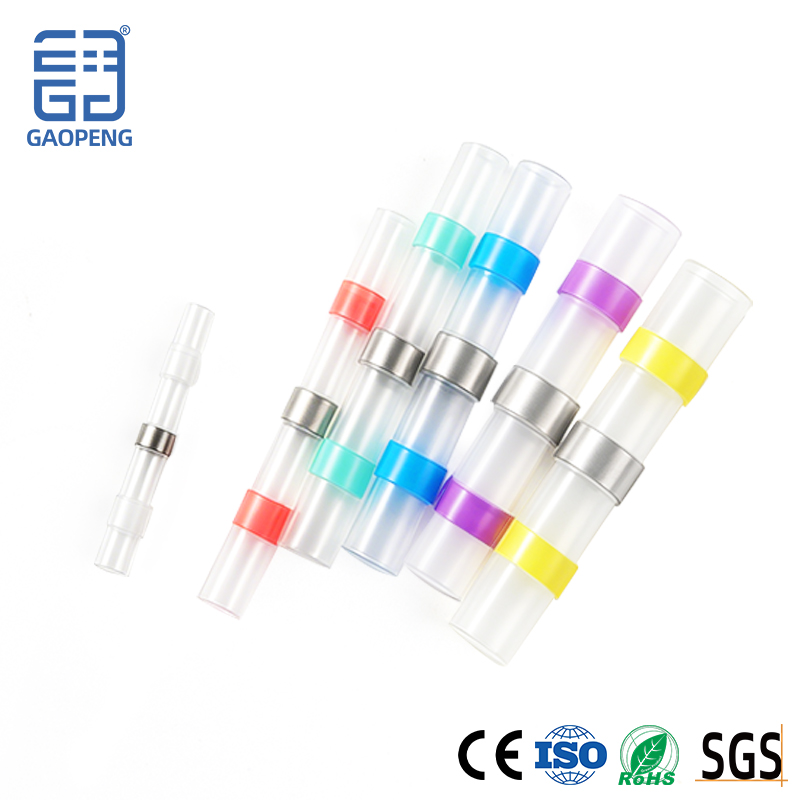
Many insulated connectors now come with a heat-shrink sleeve built-in. Hit it with a heat gun (a lighter in a pinch, but carefully!) to seal the deal against moisture and strain. It’s like putting a weatherproof coat on your connection.
High Temperature Ring Terminals: What Are Common Mistakes in Crimping?
Ah, the high-temperature ring terminal—a specialist for demanding environments like automotive engines or industrial appliances. The stakes are higher, and so are the common blunders.
Mistake #1: The Tool Tango
Using standard crimpers on high-temp terminals is a no-go. These terminals often have thicker barrels or specialized metals. Using the wrong die creates a weak, incomplete crimp that will fail under thermal stress.
Mistake #2: Insulation Ignorance
Not all colorful plastic is created equal. Standard PVC insulation can melt near a heat source. Ensure you’re using terminals with insulation rated (like silicone or specialty polymers) for your application’s temperature. A melted sleeve leaves a dangerous, exposed connection.
Mistake #3: The “Double-Barreled” Blunder
Never, ever crimp the insulation sleeve. The crimping force should be applied only to the metal barrel. Crimping the plastic does nothing for electrical continuity and can damage both the insulation and the wire.
Mistake #4: Underfilling the Barrel
Using a ring terminal that’s too large for your wire gauge. A half-empty barrel cannot be crimped properly, leading to poor contact and high resistance, which creates—you guessed it—more heat!
Gaopeng’s Golden Rule: Match the terminal (both metal type and insulation) to the environment, and match the tooling to the terminal. It’s a harmony you can’t afford to ignore.
What Are the Disadvantages of Spade Crimp Connectors?
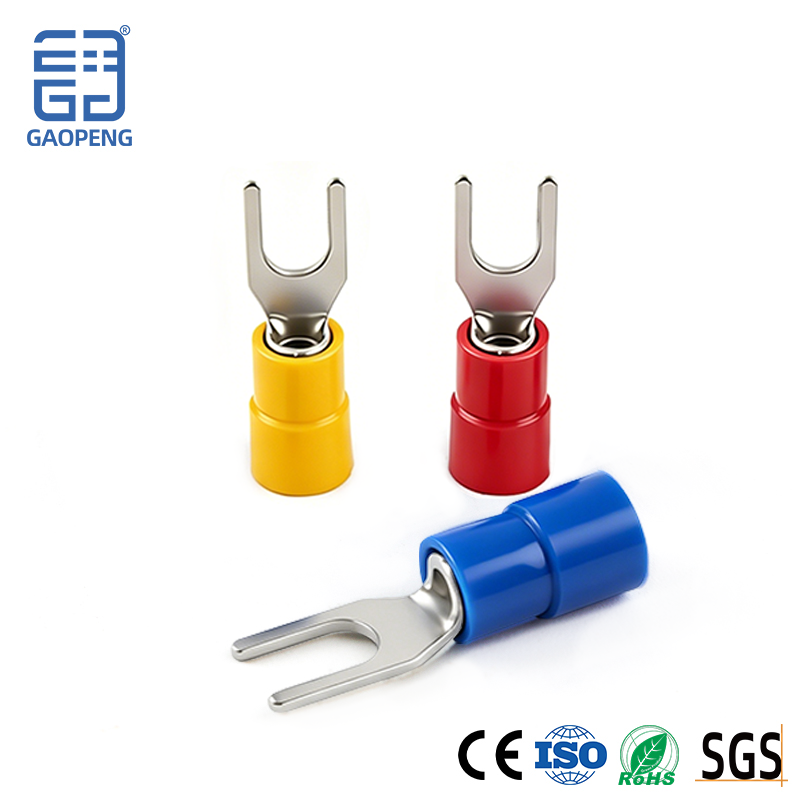
We love spade (or fork) connectors for their serviceability—the easy slide-on, slide-off design for screw terminals. But even our favorite tools have their quirks. Let’s be honest about the "cons" to use them wisely.
1. The Vibration Vacation
In high-vibration environments, spade connectors can be prone to working themselves loose over time. That’s why for critical, vibration-heavy applications (like inside a moving vehicle), a locked ring terminal is often the more reliable choice.
2. The “Snaggletooth” Syndrome
Exposed spade terminals, if not properly seated or protected, can snag on other components or, worse, short against metal surfaces. Always ensure they are fully inserted on the stud and consider using insulated boots or covers in crowded panels.
3. The Current Cap Quandary
While perfectly adequate for many applications, the forked design can sometimes have a slightly lower current-carrying capacity compared to a fully enclosed ring terminal of the same size, due to differences in contact surface area and pressure.
4. The Over-Estimation of Ease
Their ease of use can lead to complacency. A quick, careless crimp on a spade terminal is just as bad as on any other type. The need for a proper, solid crimp never takes a holiday.
The Bottom Line: Spade connectors are fantastic for their intended purpose—accessible, serviceable connections in controlled environments. Choose them for the right job, crimp them perfectly, and manage the wiring to avoid snags, and they will serve you faithfully.
Mastering the insulated crimp connector is a fundamental superpower in the electrical world. It’s the difference between a project that hums along reliably for years and one that becomes a troubleshooting ghost hunt.
At Yueqing Gaopeng Electric, we don’t just manufacture these tiny titans of connection; we believe in empowering you to use them to their full potential. Because a perfectly crimped connection isn’t just about electricity flowing—it’s about confidence flowing.
Now, go forth and crimp with authority! And if you’re looking for a partner that supplies crimp connectors born from rigorous standards and a dash of engineering passion, you know where to find us. Your wires will thank you.