



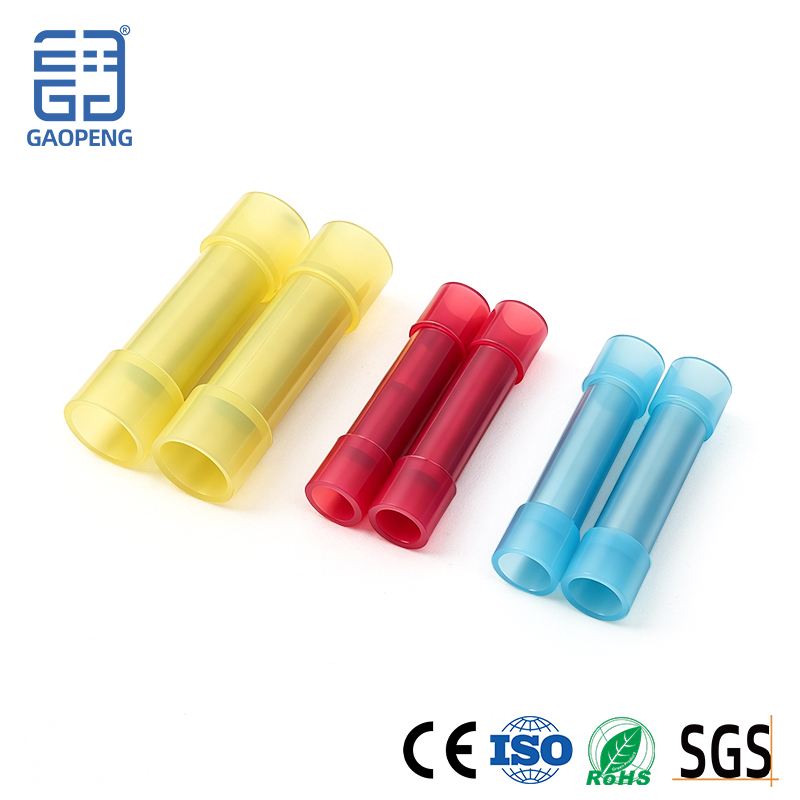
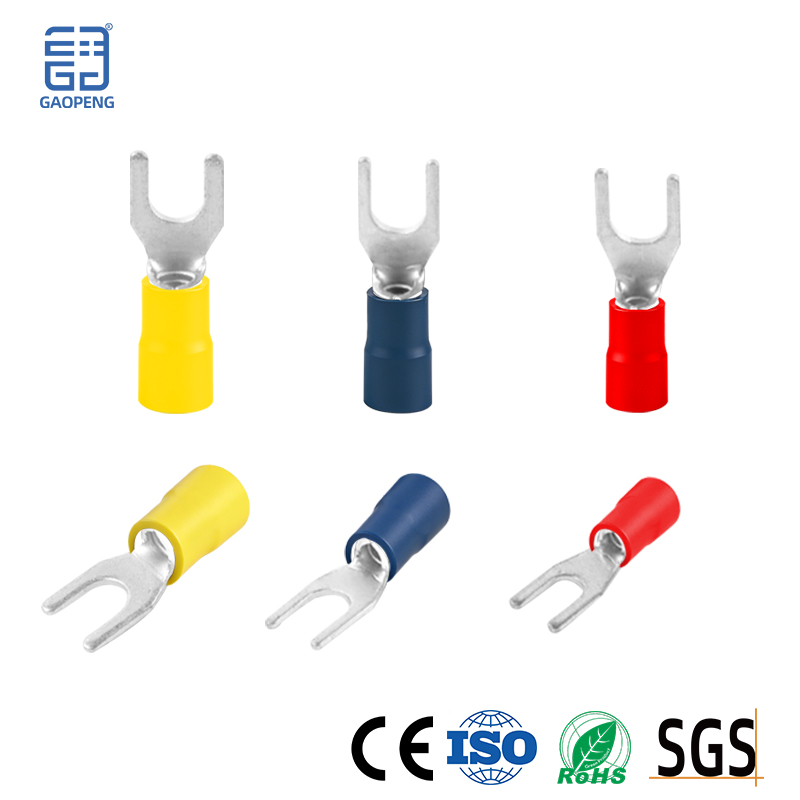
What is a tube-type terminal block? How is it used?
1. What is a tubular Wire terminal?
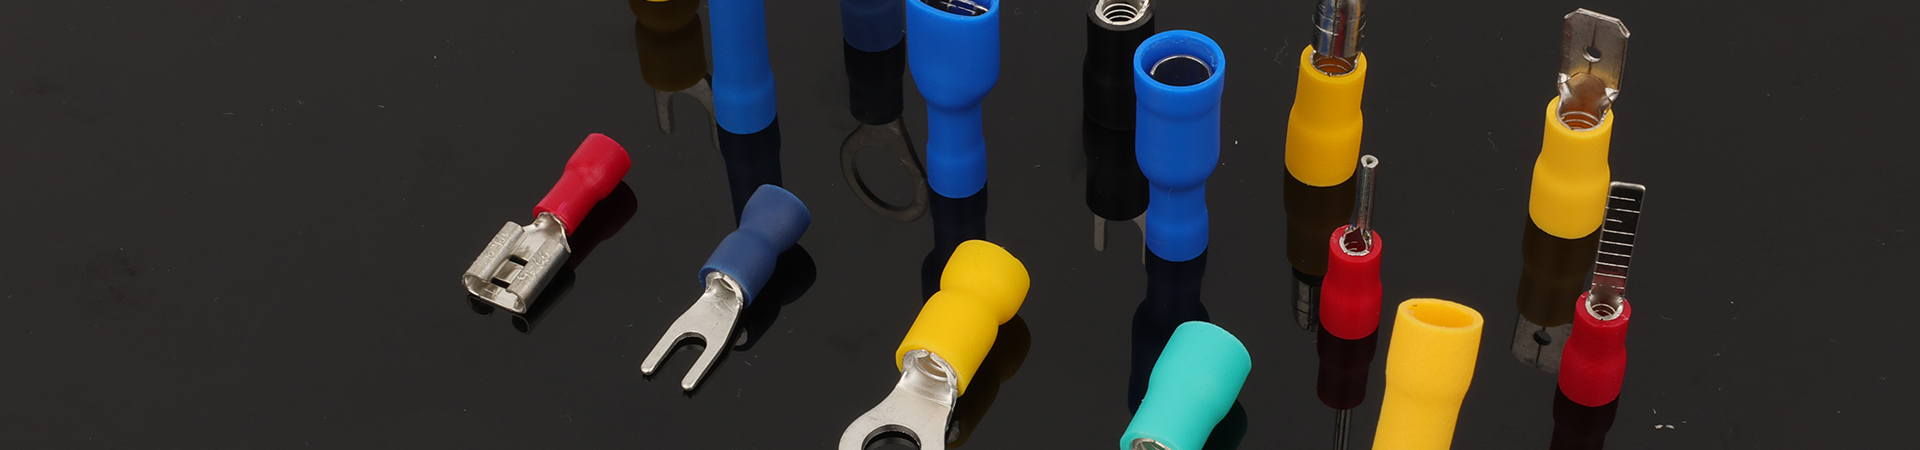
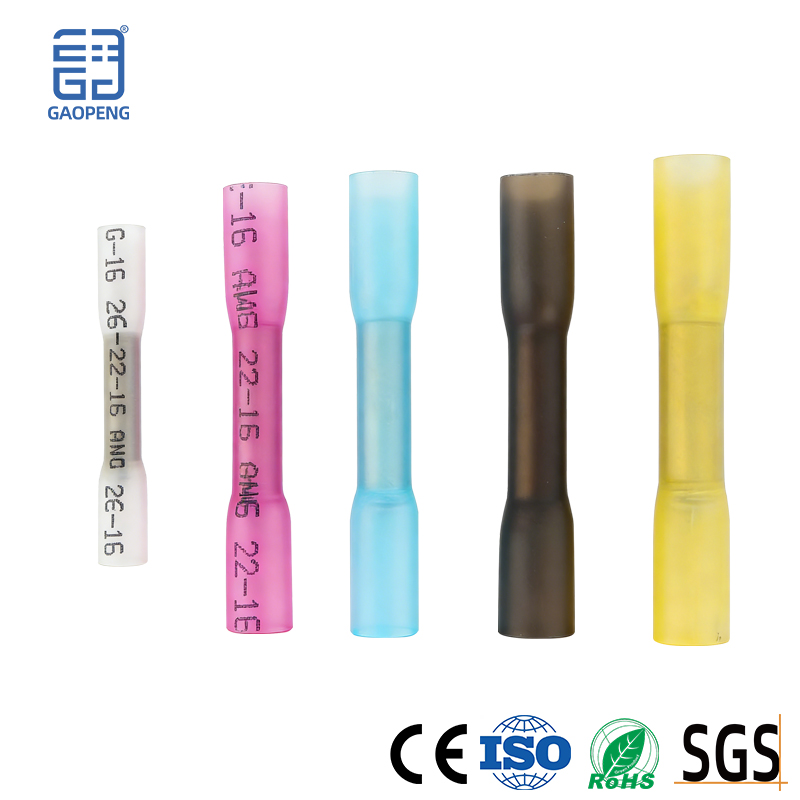
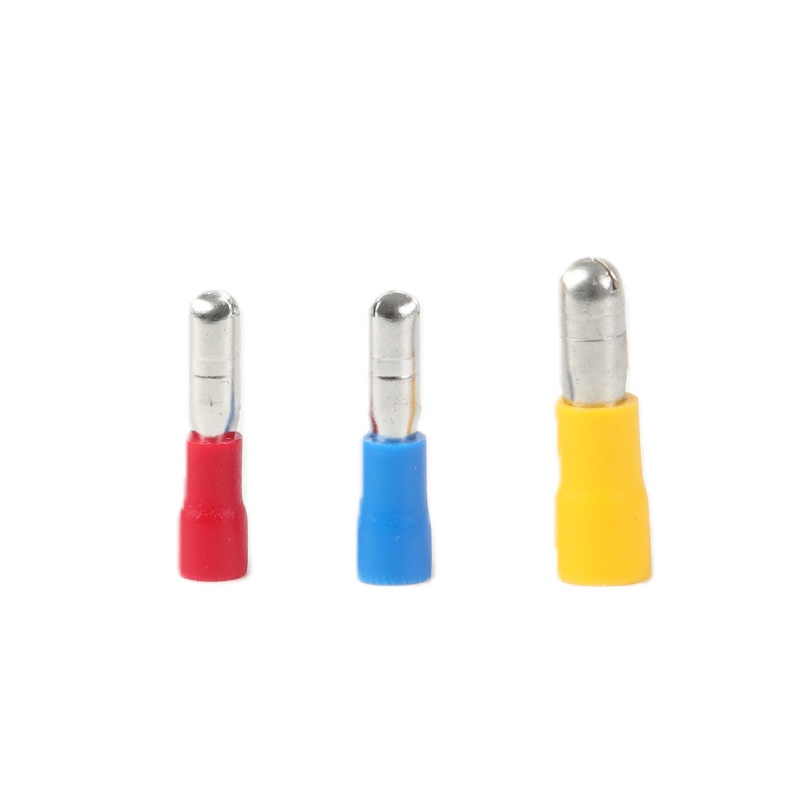
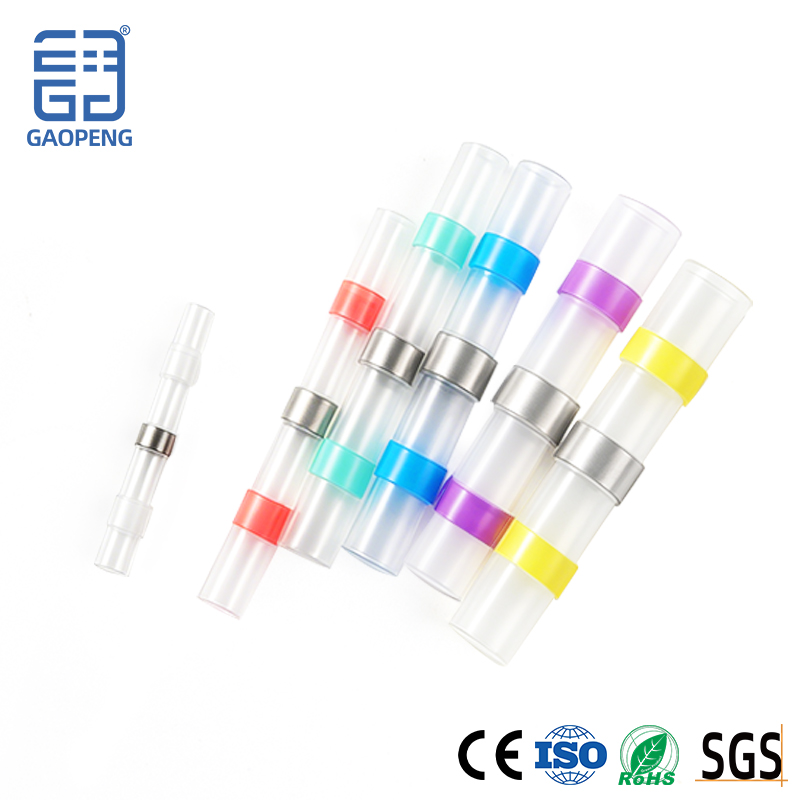
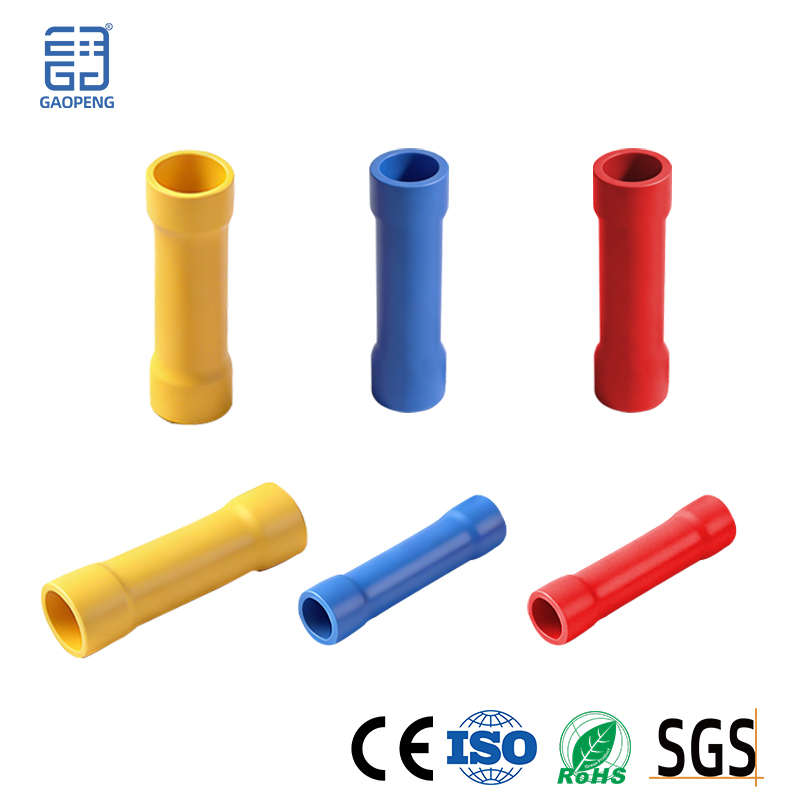
A tubular wire terminal, also known as a Wire ferrule, wire cap, or electrical connector, is a conductive metal tube with an insulating outer layer. Its core function is to safely and securely connect two or more wires while maintaining electrical conductivity.
Main components:
- Metal sleeve: Typically made of copper, aluminum, or an alloy, located inside, used to clamp the wires and ensure an electrical connection.
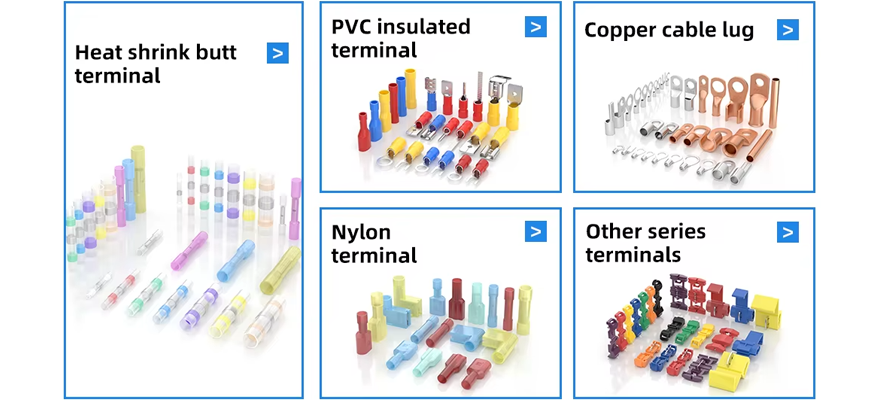
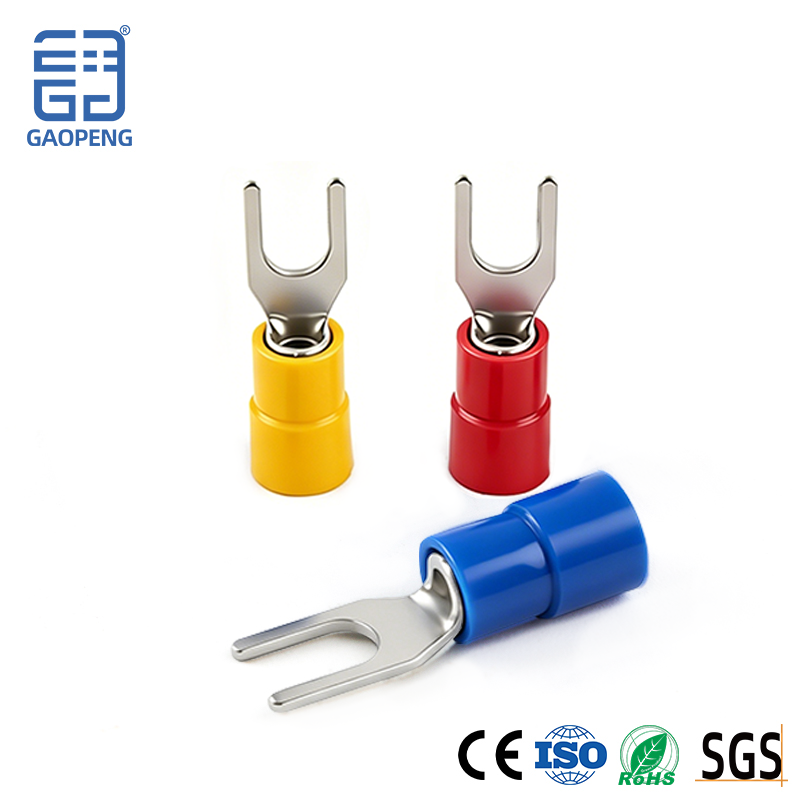
- Insulating sleeve: Wrapped around the metal tube, usually made of flame-retardant PVC or nylon, comes in various colors (commonly orange, yellow, red, blue, green, etc.), used for insulation, protection against electric shock, and mechanical protection.
Working principle:
With a special tool (crimping pliers) or screws, the wire inserted into the terminal is permanently crimped to the metal tube, forming a low-resistance, high-strength, reliable connection.
2. Main features and advantages
- Safe and reliable: The insulating sleeve prevents electric shock, and the secure crimp prevents loosening, heating, and sparks.
- Space-saving: More compact and aesthetically pleasing compared to traditional twisted-wire and electrical tape methods.
- Standardized installation: Colors usually correspond to different wire gauges, making identification and operation easier.
- Good flame resistance: High-quality products use V0-grade flame-retardant materials, improving circuit safety.
- Corrosion resistance: The metal tube is treated with tin plating or other methods to prevent oxidation.
3. How to Use? (Standard Operating Steps)
Important Reminder: Before operating, make sure the relevant circuit is completely powered off and verify with a voltage tester!
Required Tools: Appropriate crimping pliers (most common), or a screwdriver (for detachable screw-type terminals).
Step 1: Preparation
Power Off and Verify: Turn off the power switch and use a voltage tester to confirm the wires are not live.
Strip the Wires: Use wire strippers to remove the insulation from the ends of the wires to be connected. The stripping length should be just equal to or slightly less than the depth of the metal tube of the terminal (usually indicated on the terminal packaging, e.g., 10-12mm).
Organize the Wires: Ensure all copper strand wires are neat, free of frays, and oxidation-free. If oxidized, lightly sand with sandpaper.
Step 2: Insert Wires
Align all the wire ends to be connected, then insert them parallel and side by side into the metal tube of the terminal.
Ensure that all wires are inserted to the bottom and no copper strands are exposed outside the insulation.
Step 3: Crimp (Most Critical Step)
Use crimping pliers that match the size of the terminal (the plier jaws are usually marked with color or specifications).
Place the terminal with the wires into the corresponding jaw of the crimping pliers.
Press firmly and in one motion until the handles are fully closed or you hear a “click” sound (some pliers have a locking feature).
Crimping Position: Crimp at the middle of the metal tube or the designated crimp area. Do not crimp over the insulation.
Step 4: Inspection
After crimping, pull each wire firmly by hand to check stability; it should not come out.
Check that the insulation is intact and that no copper strands are exposed.