Why a good crimp matters
A terminal connection fails in one of two ways: it pulls apart, or it runs hot. Both trace back to the crimp, not the terminal. A proper crimp compresses the barrel around the conductor with enough force that the copper and the barrel deform together and behave like one piece. That is what keeps contact resistance low — and resistance is what generates heat. Get the crimp right and a terminal outlives the machine it is in. Rush it and you will be back within the year.
What you need
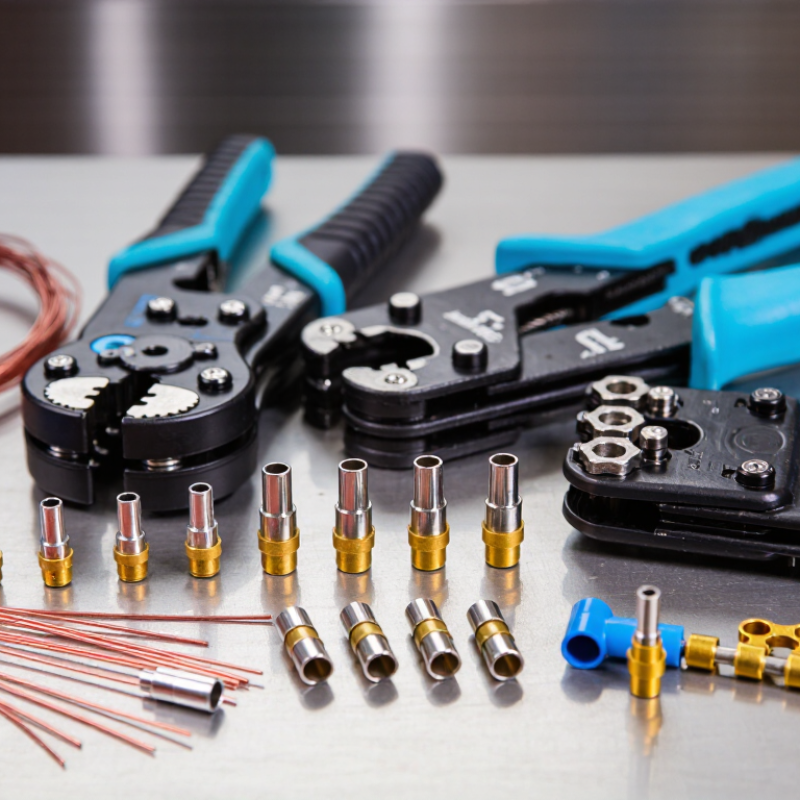
- A Wire Stripper — an automatic one speeds things up noticeably.
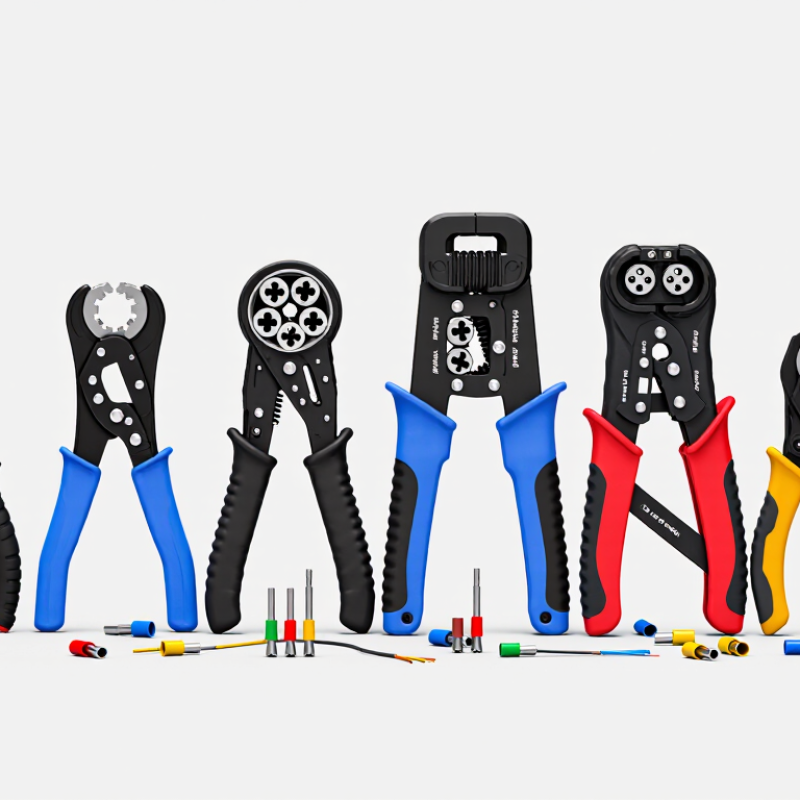
- A ratchet crimping tool with the right die for Insulated Terminals.
- The correct terminals — colour coded red, blue, yellow for 22–16, 16–14, and 12–10 AWG.
Step 1 — Strip the right length
Strip just enough insulation for the wire to reach the back of the terminal barrel, with the copper fully inside. Too long and bare copper sticks out past the sleeve — a short circuit waiting to happen. Too short and the barrel grabs insulation instead of copper, and the joint is a loose handshake. Most insulated terminal barrels are about 6–8 mm deep; match the strip length to the terminal you are using, not the other way around.
Step 2 — Match the terminal to the wire
Use the colour code: red for 22–16 AWG, blue for 16–14 AWG, yellow for 12–10 AWG. Do not squeeze a 14 AWG wire into a red terminal just because it is what is in the drawer — the crimp will be weak and the connection will overheat. When in doubt, read the print on the cable; it always lists the gauge.
Step 3 — Seat the wire
Slide the stripped conductor into the barrel until it bottoms out against the back. The insulation should sit right at the mouth of the sleeve, not inside the metal barrel. If the strands fan out, twist them gently before inserting — every strand needs to be inside the crimp, because a missed strand becomes a hot spot later.
Step 4 — Crimp in one full squeeze
Place the terminal in the die that matches its barrel size, and squeeze the handles until the ratchet clicks open. That ratchet is your friend: it will not release until the crimp is fully compressed, so you cannot under-crimp by accident. Do not release the handles early and “finish” with a second squeeze — one complete compression is what the design expects, and a second squeeze only work-hardens the barrel.
Step 5 — Pull test
Give the wire a firm pull. The conductor should not slide out of the barrel. A good crimp grips so well that the wire breaks before the crimp lets go. If it slips, cut the wire and start again — never re-crimp the same terminal, because a barrel that has been compressed once will not hold a second time.
Step 6 — Look at it
Check three things before you move on. The sleeve should not be crushed or split. No stray strands should poke out of the barrel mouth. And the crimp indentation should sit evenly in the middle of the barrel. If anything looks off, it probably is — spend the 20 seconds to redo it now, not the 2 hours to troubleshoot it later.
What a good crimp looks like
Inside the barrel, a good crimp deforms the copper strands and the barrel together into a solid mass — no air gap, and the strands visibly pressed into each other. Outside, you should see a clean, even indentation from the die, with the sleeve intact and the wire held firmly. If you cut a finished joint open — a habit worth doing once with a sample — the copper should look like one continuous block, not loose strands. That is the visual standard we hold our own production to: every batch is crimped and pull-tested before it ships.
The one-tool rule
Strip, seat, squeeze, test. If you only remember four words, remember those. The order matters: stripping too long or too short, seating halfway, or squeezing twice are the three habits that create most field failures — and every one of them is visible at the workbench before the joint ever goes into service. A thirty-second check at crimping time is worth far more than a troubleshooting session at the customer’s site.
The honest truth about cheap crimpers
You can crimp with a pair of pliers — once, badly. Crimping is about force control, and that is exactly what a ratchet tool is built for. Gaopeng’s stripping and crimping tool range covers AWG 22–10 insulated terminals, and a decent ratchet crimper costs less than the labour of fixing one bad connection in the field.
Quick FAQ
- Can I solder instead of crimping? Soldering makes a strong joint, but the solder wicks up the strands and creates a stiff point that can fatigue and break under vibration. Crimping stays flexible — which is why automotive and aerospace specs prefer it.
- Is a manual (non-ratchet) crimper good enough? For occasional repairs, yes. For anything you install and walk away from, a ratchet tool is the right call — it removes the human variable.
- Why did my crimp pull out? Almost always one of three things: wrong gauge terminal, wire not seated to the back of the barrel, or a partial squeeze. Recheck all three before blaming the terminal.
- How tight should the insulation sit? The sleeve mouth should meet the wire insulation with no copper visible between them — and no insulation inside the metal barrel.
When you are buying terminals in bulk
The terminal matters too. Gaopeng’s insulated terminals use tin-plated brass barrels with crimp resistance under 0.5 mΩ at 20 A continuous, and the line is made under ISO 9001:2015 with CE, RoHS, and SGS compliance. Quality terminals plus a proper crimp add up to connections you install once and forget — which is the whole point of doing the job right the first time.